Wooden Clothes Peg Making Process
My son and I are focused heavily on getting our first production run of clothespins made. My son is enthused about making clothespins. That pleases me. It is tedious work and he wants to get through them fast, but I keep stressing that making clothespins is a marathon, not a sprint, especially when making a lot of them, as we are doing.
The process of making clothespins involves some basic woodworking power tools but I would not classify this as a basic woodworking project. Everything has to be done just-so. The pictures that follow were taken by me last year when I was prototyping my clothespin design. I have changed the overall design slightly from what these pictures show, but the process is pretty much the same. These pictures give you an idea of what we’ve been doing under the “clothespin-making tent” outside my workshop.
The wood is ash. Boards are planed down to 3/8″ thick. Each board is crosscut into pieces 3.5″ long. I call these pieces clothespin “flitches.”
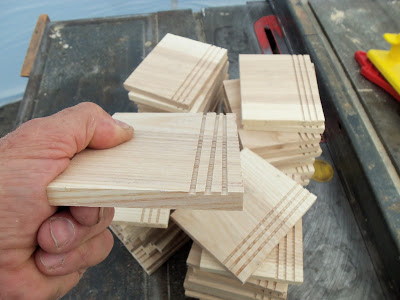
Each clothespin flitch is machined just-so before the clothespin halves are cut. In this picture you can see the three “grip grooves” that have been cut with the table saw.
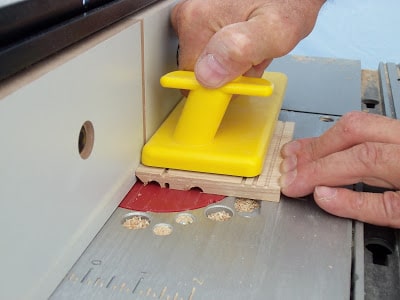
Various other cuts are made in the flitches using a router mounted in a router table.
Here you can see the machined flitches
The flitches are clamped to a “flitch sled” for ripping on the table saw, as shown here.
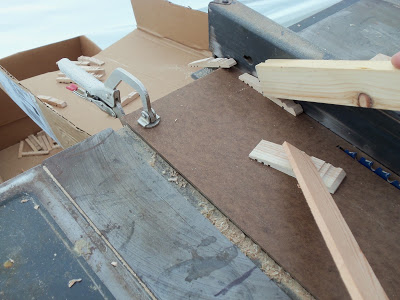
The mouth end of the flitches is ripped down with the blade at a slight angle. Then the flitches are flipped 180° and the handle end is ripped at an angle. The second ripping cut is shown here.
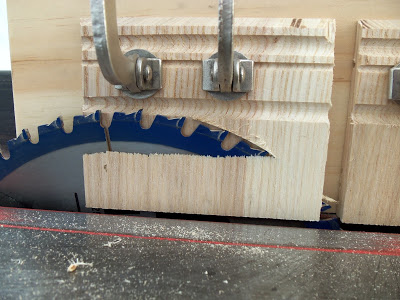
The final cutting step is to rip the clothespin halves out of the machined flitches, and that’s what is happening in this picture.
After the halves are cut out, they are put in plastic bags and tumbled for a period of time. This tumbling action serves to “sand” the sharp edges smooth. Then, pieces of terrycloth, dampened with linseed oil and turpentine are added to the bags and the halves are tumbled some more. After the second tumbling, the pin halves look like you see here. After air-drying, they will be assembled with stainless steel springs.
Read More: Clothes Pin Making Machine


